


Gift Card
Sale priceFrom £10.00


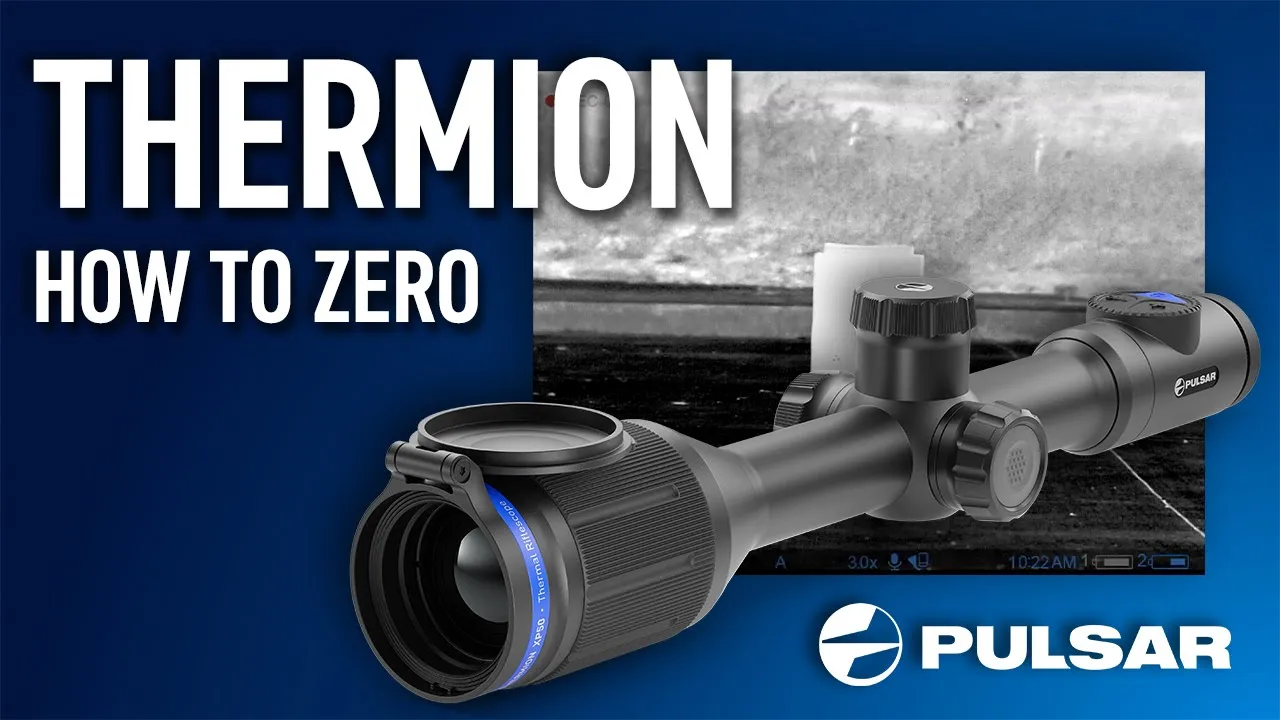
How to Zero A Pulsar Thermal Scope

Step 1. Take a shot
- Shooting from a benchrest is recommended.
- Set a target at a known distance.
- Adjust the riflescope according to the Powering On and Image Setting section.
- Select the zeroing profile (see Zeroing Profile
 main menu item).
- Aim at the center of your target and shoot.
Step 2. Align the reticle with the point of impact
- If the point of impact does not match the aiming point, press and hold down the controller button (6) to enter the main menu.

- Rotate the controller ring (6) to select the Zeroing submenu. To confirm the selection, briefly press the controller button (6).

- Set the zeroing distance value (see Zeroing menu item Add New Distance submenu).
- Confirm the selected zeroing distance value by long pressing the controller button (6).
- The Zeroing Parameters Settings additional menu will appear on the screen.

- Cross hairs appear in the center of the display. X and Y coordinates of the cross hairs are in the upper right corner.
- Rotate the controller ring (6) to select the icon
 .
. - Press the controller button (6) briefly.
- Holding the reticle in the aiming point, move the cross hairs by rotating the controller ring (6) until the cross hairs match the point of impact. To switch the direction, briefly press the controller button (6).
Zoom Zeroing function:
To improve the accuracy of zeroing, you can change the magnification in the menu  . The larger the magnification, the smaller the step of shifting the reticle on the display relative to the image from the sensor.
One-shot "Freeze Zeroing" function:
Using the Freeze function allows you to make adjustments without the need to hold the rifle precisely at your aiming point – freezing the zeroing screen (refer to Zeroing menu item Distance submenu Zeroing Parameters Settings  submenu Freeze
  submenu or short pressing of the ON/OFF (3) button).
Step 3. Save the coordinates
- To save the new reticle position, press and hold the controller button (6). The reticle is aligned with the point of impact and the submenu exits.
- Press and hold the controller button (6) again to exit the zeroing settings menu - the message “Zeroing coordinates saved” appears, confirming the successful operation.
- Fire a second shot - now the point of impact and the aiming point must be matched.
Notes:
- After zeroing, the reticle may not be in the center of the display.
- The range of movement of the riflescope reticle allows you to successfully zero the riflescope, even on mounts that are far from ideal, minimizing the possible disadvantages of the mounts. The better the mount is installed, the less you have to move the reticle. We recommend mounting the riflescope as low as possible.
- Zeroing at a temperature close to the riflescope’s operating temperature is recommended.
Alternatively, watch Pulsar's video zeroing below:
Scottish Game Fair 2026 - Scone Palace
We are delighted to be exhibiting once again at the Scottish Game Fair - Scone Palace 3rd - 5th July 2026
As a result, our shop will be closed on the dates listed below. Our online store will continue to operate as normal; however, please note there may be a slight delay in shipping during this period.
CLOSED: Tuesday 30th June - Tuesday 7th July 2026
Business as usual from Wednesday 8th
July 2026